Posted on

Replacing the chip in your BMW

TRM Tuning OBD1 Chip on Circuit Board 01

This document will need photos for each step.

While this article will focus primarily on the Motronic 3.3.1 system in the E36, the general information will apply to many other similar systems. The engine computer is often referred to as the ECU or the DME.

The ECU is located in a cubbyhole behind the right side shock tower in the engine bay. In stock form there are both an acoustic cover and a weather tight cover that seal the compartment.

The acoustic cover is held on with 3 push clips in its midline, and a few 10mm large plastic nuts at the base.

Only the push clips are required to be removed. Using a small screwdriver, pry back the center pin and the rest of the fastener will easily be removed. Do this for all three clips.

With the acoustic cover removed, the 4 Phillips head screws will be visible. Unscrew these but do not pull them out of the cover.

With the screws undone, you will be able to pull the top of the cover towards the front of the car, and then pull up. The bottom of that cover/door fits into a slot on the chassis.

With the door removed, the DME is now exposed. To remove it, simply slide it forward. It is held in with spring locks, so there will be some friction/resistance.

With the DME out of the compartment, remove the plug. To unlock the plug from the DME, pull the silver latch on the top of the plug away from the DME.

With the DME out of the car, set it on your clean dry workbench.

Remove the cover. (bend lock tabs. remove torx screws if so equipped.)

TRM Tuning OBD1 Chip Install 01

Remove the chip cover/lock.

TRM Tuning OBD1 Chip Install 02

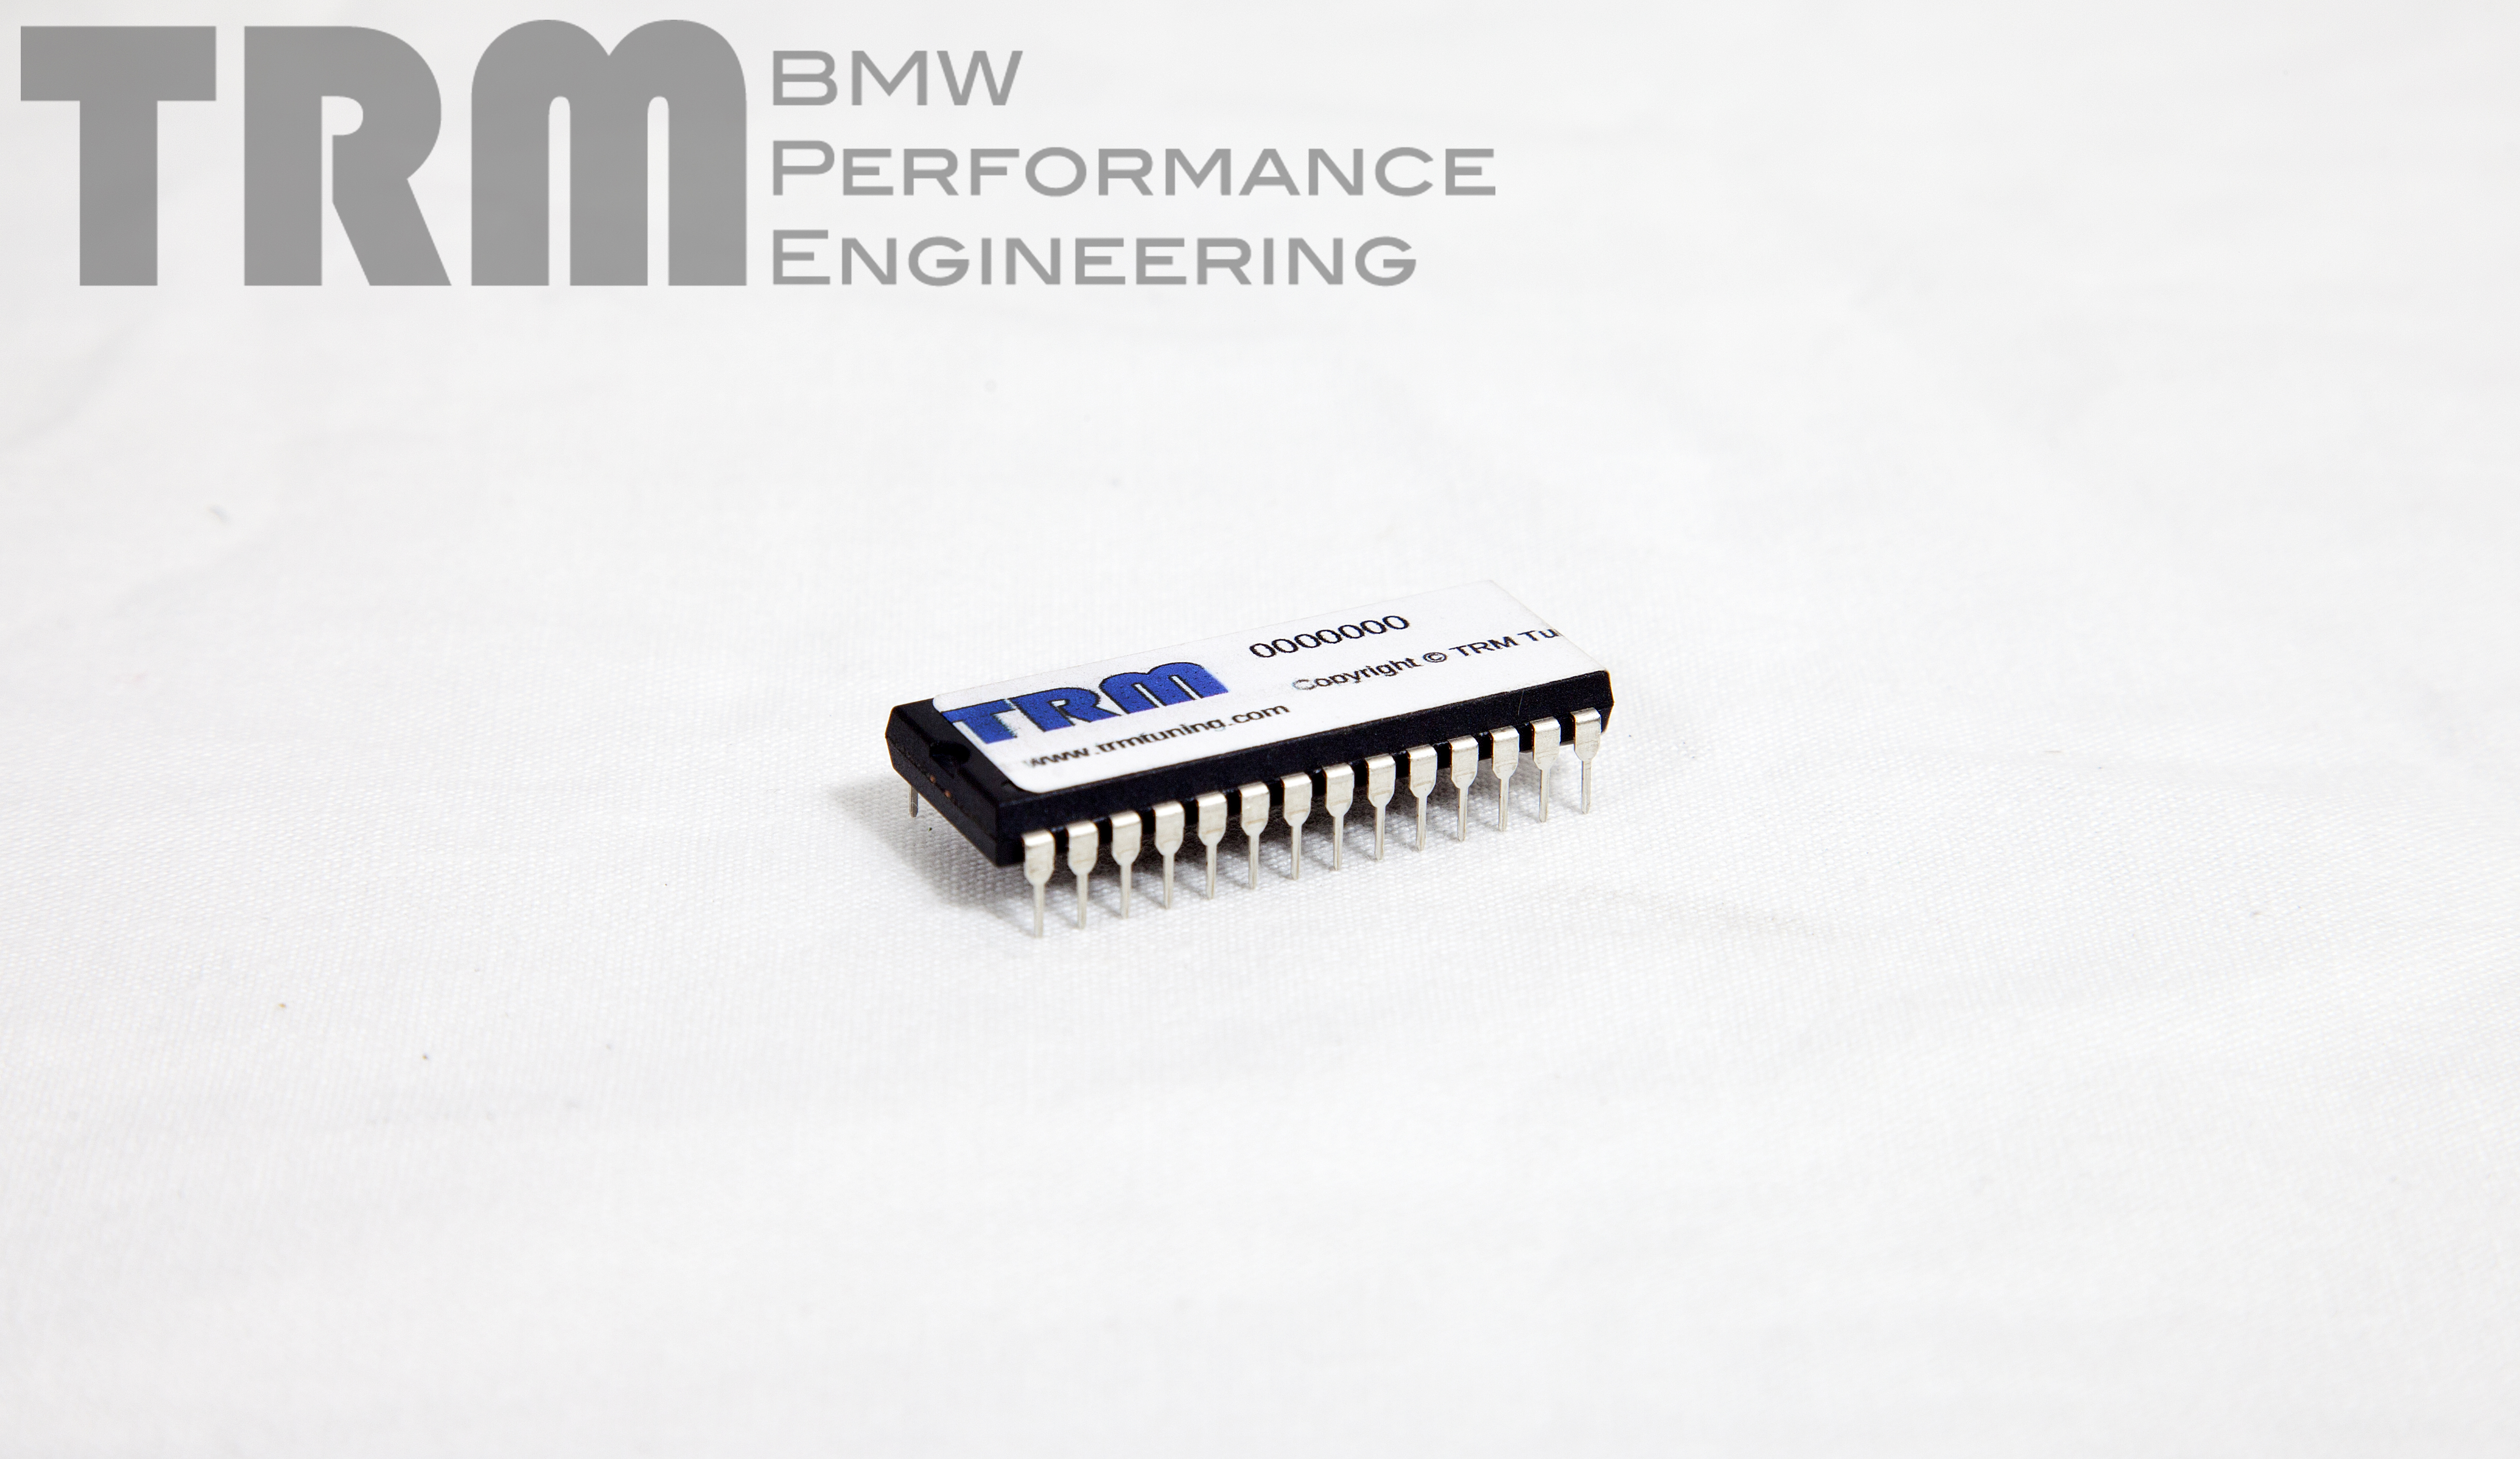
Remove the chip. (If this ECU already has a chip, make sure you remove all of whatever was there, including any aftermarket daughter boards.)

TRM Tuning OBD1 Chip Install 06

See photo for “Daughter Board / Encryption Board” – Note extra circuit board above chip socket.

TRM Tuning OBD1 Chip Install 09

Many customers will not have access to a “Chip Puller”. If you are using a prying device work the chip up from each end slowly.

TRM Tuning OBD1 Chip Install 04

TRM Tuning OBD1 Chip Install 05

Install the TRM chip. Make sure to align the notch on the end of the chip with the notch on the end of the socket.

TRM Tuning OBD1 Chip on Circuit Board 01

Replace the chip lock/cover.

TRM Tuning OBD1 Chip Install 01

Replace the ECU cover.

Plug ECU into harness.

Slide ECU back into compartment.

Replace the plastic cover making sure to properly seat the harness in the cover before screwing it down.

Replace the sound cover.

Posted on

EWS on the E36 chassis

TRM Tuning OBD1 Chip on Circuit Board 01

What is EWS? EWS is “Elektronische Wegfahr Sperre”.

Don’t speak German? Then that probably wasn’t helpful. EWS is BMW’s electronic drive away protection system.

The exact implementation of EWS on the E36 varied slightly through the years, but the general lack of long term reliability stayed the same. Key failures, antenna failures, and module failures are not as uncommon as they should be. The system can also present problems when doing motor swaps.

For this reason, all of our OBD1 performance chips for the 413/506 are EWS delete chips. We also offer a separate EWS delete only chip that only disables EWS.

For OBD2 equipped vehicles, or for swapping an OBD2 motor into an earlier car, we also offer EWS delete options for the MS41 based E36’s.

EWS delete in the ECU only removes part of the system.

TRM Tuning OBD1 Chip 02On OBD1 cars, if the chassis was equipped with EWS, you need to remove that link between the EWS computer and the DME as well as use an EWS delete chip. The wiring can be disconnected at the DME side (pin 66) or at the X20 side (pin 7). The X20 is the easiest to access and cleanly modify.

We recommend pushing the pin out of the X20. (big round plug by the fuse box.) If you unscrew that connector, pull back the boot, find pin 7 (green wire), twist the lock mechanism on the connector, push the pin (pin 7, green wire) out of the connector, re-lock the connector, fold the pin/wire back into the boot, put the boot back on, and reconnect the connector.

For EWSII equipped cars, there is also a starter lockout. We recommend bypassing that as well. On the EWSII module itself, there are only two large wires. Those are the wires for the starter solenoid. Cut them near the plug and butt connector them together and your car will start even when the key transmitter or antenna fails.

Posted on

Recommended chargers for flashing your BMW

When flashing new software to your car, it is important that the voltage be held constant. That stability will ensure there are no problems with writing the data to the very sensitive ECU. Any fluctuations in voltage can cause a “bad write”, and as a worst case, “brick” the ECU.

Voltage drops can be caused by a number of seemingly insignificant things. Opening a door or trunk during a flash can turn on the dome lights, or trigger other chassis functions, which can cause a voltage drop. A heat soaked radiator can trigger the Aux fan to turn on causing a voltage drop. While not all of the possible causes can be prevented, a strong charger can mitigate the possible bad outcomes.

We recommend the following chargers when using the TRM flasher:


Posted on

Pressure Testing the Intake System

Pressure testing the intake system on a turbocharged car is the best way to check for leaks. Any leak in the intake system can negatively impact the efficiency of the system. A leak after the MAF can also cause drivability and running issues. Pressurized leaks may not be apparent in vacuum testing, and may appear sealed when not pressurized. Post MAF leaks are generally noted by a rich running condition on boost.

Depending on the type of vehicle, there may be common leak areas that need more attention. This is true on applications such as the turbocharged M50 based motors.

Other common leak points are the silicone couplers and the turbocharger compressor housing. To ensure that the couplers hold right, verify that the hose clamps are on square to the tube as well as sufficiently tight. We recommend only T-bolt clamps for intercooler piping, but screw-type can work fine for compressor inlets.  The compressor housing on a turbo can be sealed to the center section in various ways.  Some use a paper gasket, some use a rubber o-ring, and others use nothing. Some that ship with nothing or with a paper gasket can benefit from switching to an o-ring. Most compressor covers use a 5.5 inch ID o-ring like this.